Setting Up a VPN Connection in Windows 10 and Connecting to a VPN Server
Virtual Private Network or VPN is used to connect a PC to an enterprise network that may have its work place at a distant geographical location. Sometimes you may also enable and use VPN on your PC when you want to work from your home but still want to access the resources and data available at your office.
Unlike previous versions of Windows Windows 10 allows you to setup a new VPN connection and connect to an available VPN server comparatively easily.
You must follow the steps given below to set up and use a VPN connection in Windows 10:
- Sign-in to your Windows 10 computer with an administrator account.
- Click the Start button once on the desktop window.
- From the left pane in the Start menu click Settings.
- From the SETTINGS window click Network & Internet.
- On the NETWORK & INTERNET window from the left pane click to select VPN.
- From the right pane under the VPN section click the Add a VPN connection option.
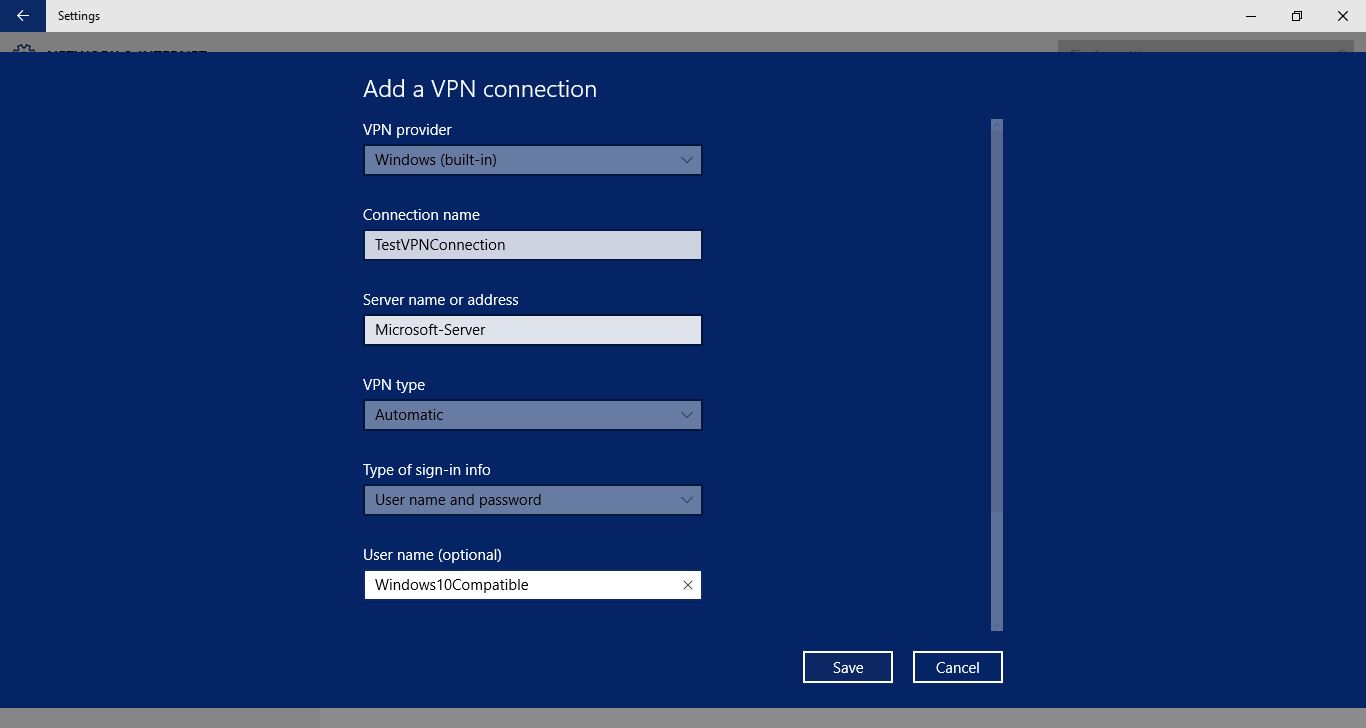
- Once the Add a VPN connection interface opens up populate the available fields with the correct values.
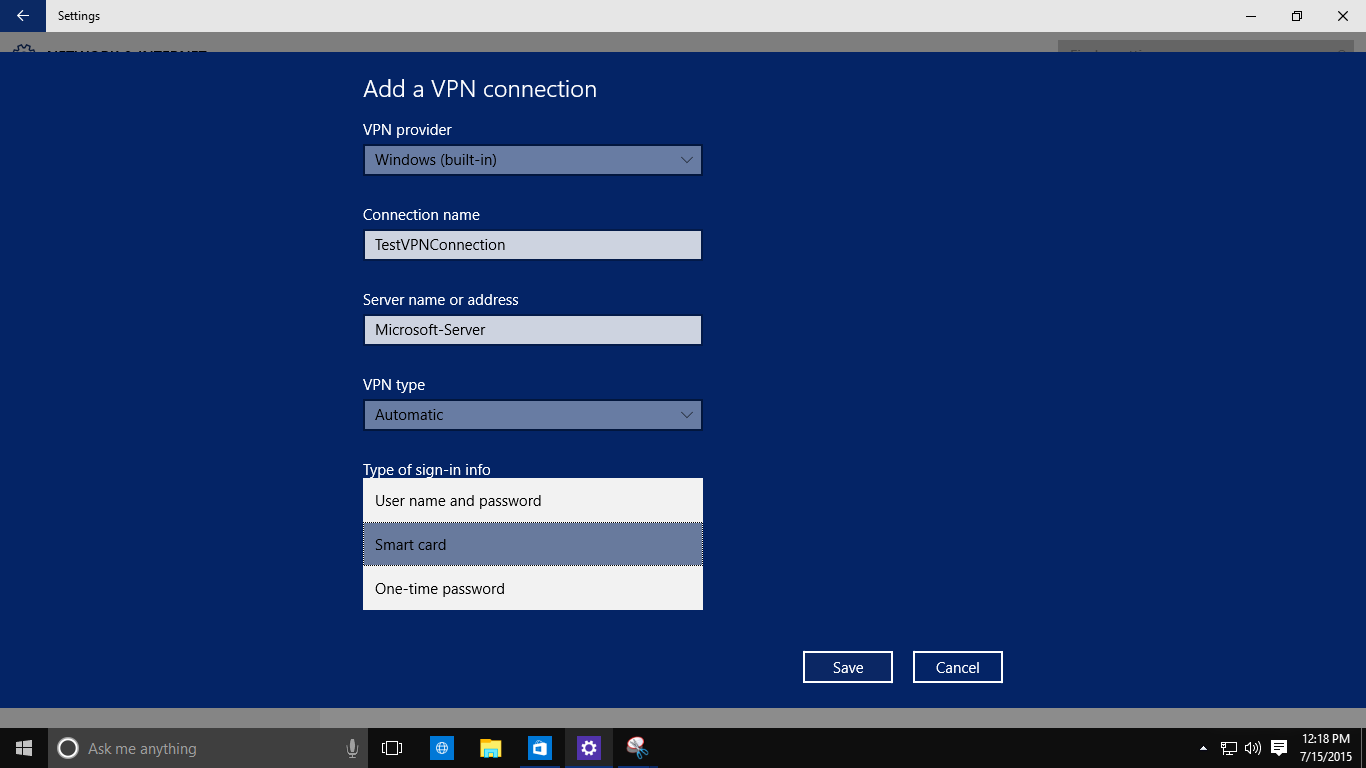
Note: Optionally you can choose a specific tunneling protocol and accepted sign-in method from the VPN type and Type of sign-in info drop-down lists respectively.
- Click Save when done.
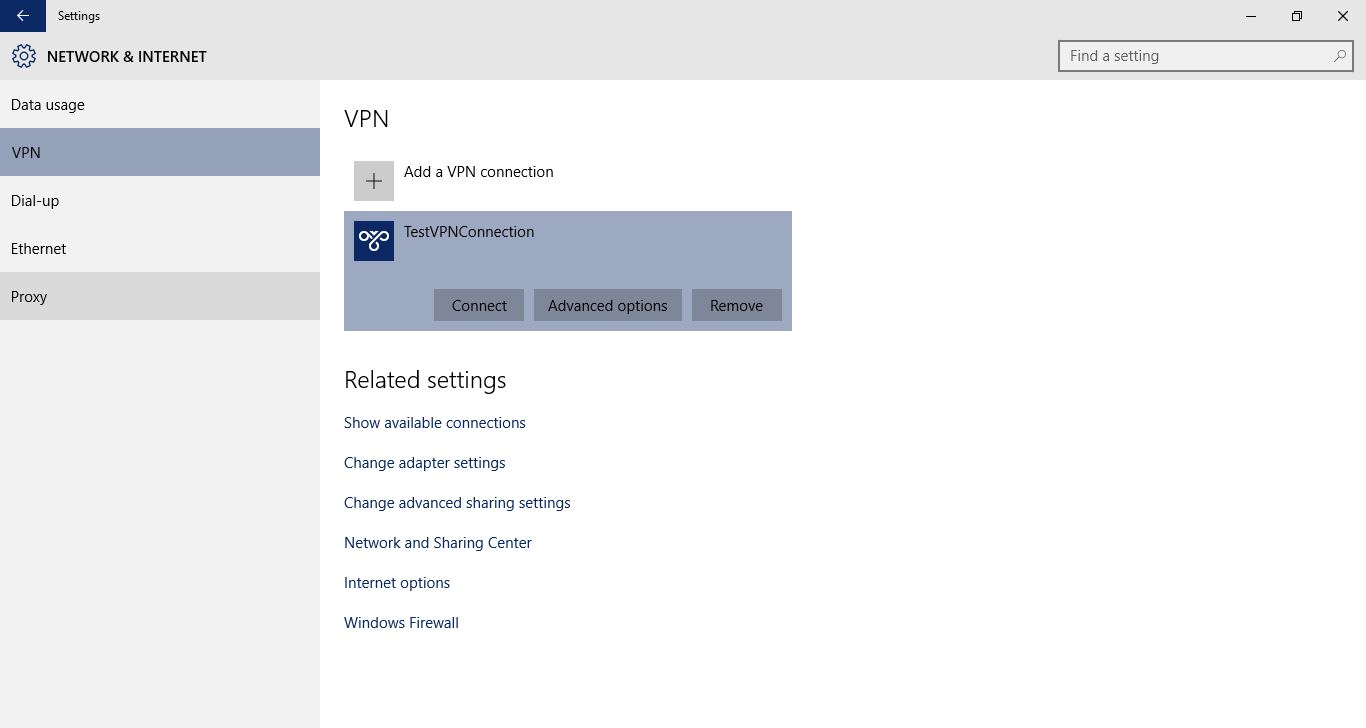
- Back on the previous window you can click the Connect button from under the newly created VPN connection to connect to the specified VPN server.
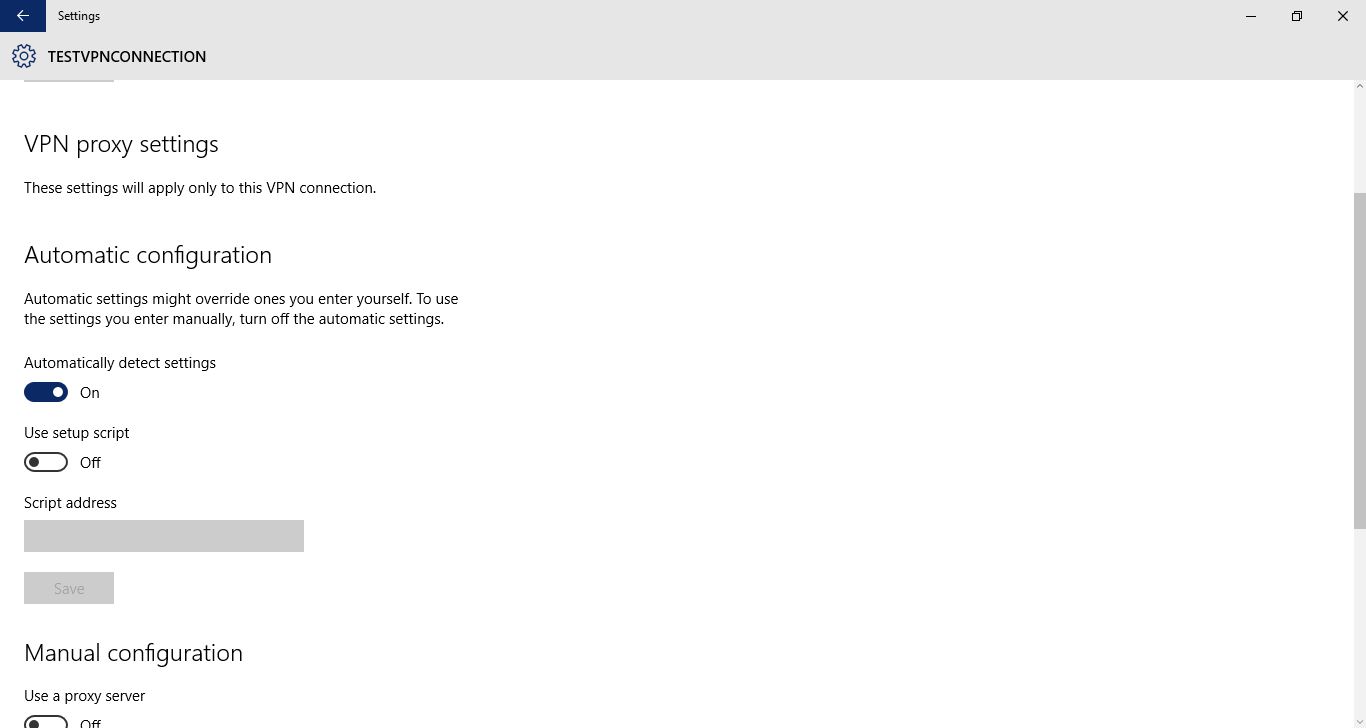
- If needed you can click the Advanced options button under the newly created VPN connection to make changes to it or to configure the connection more granularly.
Additional Information
In addition to the above VPN setup that is called Client-Server VPN another type of VPN configuration called Site-to-Site VPN is also there. This type of VPN is used when two branches of a same organization are placed at distant locations and still require to remain connected to each other in order to allow the users from both branches to access the resources and data from each other.


