How to Increase Windows 10 Performance
Windows 10 is a pretty balanced operating system that provides optimum performance when configured to its default settings. However it is likely that after using Windows 10 on your computer for a while its default settings may change and you may experience some inconsistencies in the operating system.
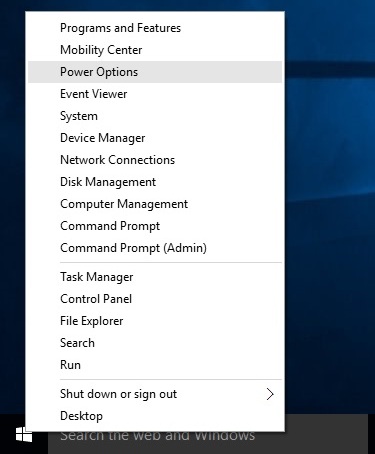
If you are using Windows 10 on a laptop computer going to the Power Options window (by right-clicking the Start button and selecting Power Options) and setting the Balanced power plan as default would be the first step to optimize your computer’s battery consumption.
In addition to the above defragmenting the system drive (C:\ in most cases) at least twice a month would always keep your PC in good state and you are unlikely to experience reduced speed or decreased performance.
Note: A system drive on a computer is the partition of your hard disk drive on which Windows is installed. A system drive is represented by a Windows logo that appears on its icon.
You can follow the steps given below to defragment the system drive of your Windows 10 computer:
- Use an administrator account to sign-in to your Windows 10 PC.
- Click File Explorer from the task bar.
- From the left pane of the opened File Explorer window right-click Local Disk (C:) or any other drive with the Windows logo.
- From the context menu click Properties.
- From the opened properties box go to the Tools tab.
- From under the Optimize and defragment drive section click Optimize.
- Once the Optimize Drives box opens up from the displayed list ensure that (C:) is selected.
Note: All the drives that require defragmentation would be listed and marked as fragmented.
- Finally click the Optimize button from below the list.
- Wait until the drive defragmentation is complete.
- Restart the PC after defragmentation and start using Windows 10 normally.


